Before finalising the assembly, the raspberry must be installed and the NFC reader wired. You can find the details HERE
Body assembly 7 inch back fix :
Your plywood body should now be ready.
To avoid getting your hands and plywood dirty. Clean the laser-cut edges. Laser cutting burns the plywood and forms a layer of carbon.
-
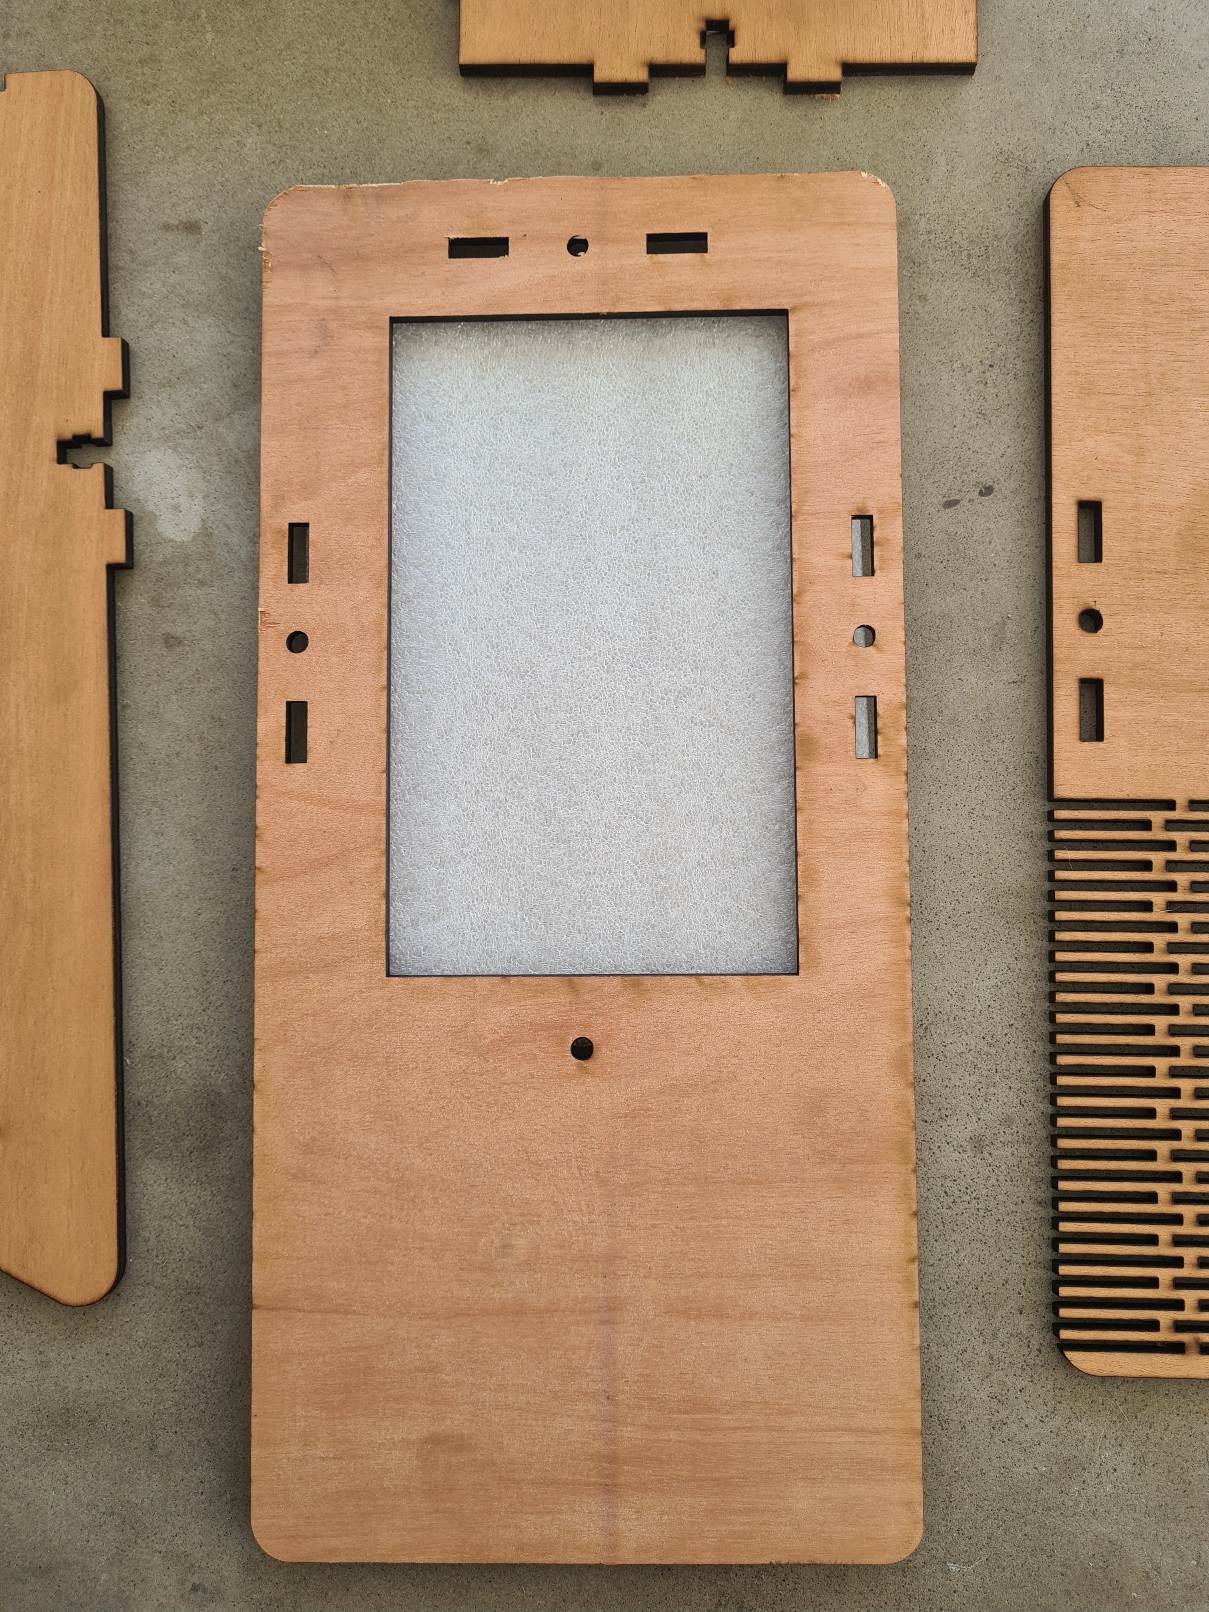
Place the foam protection supplied with the screen on the underside of the front panel :
-
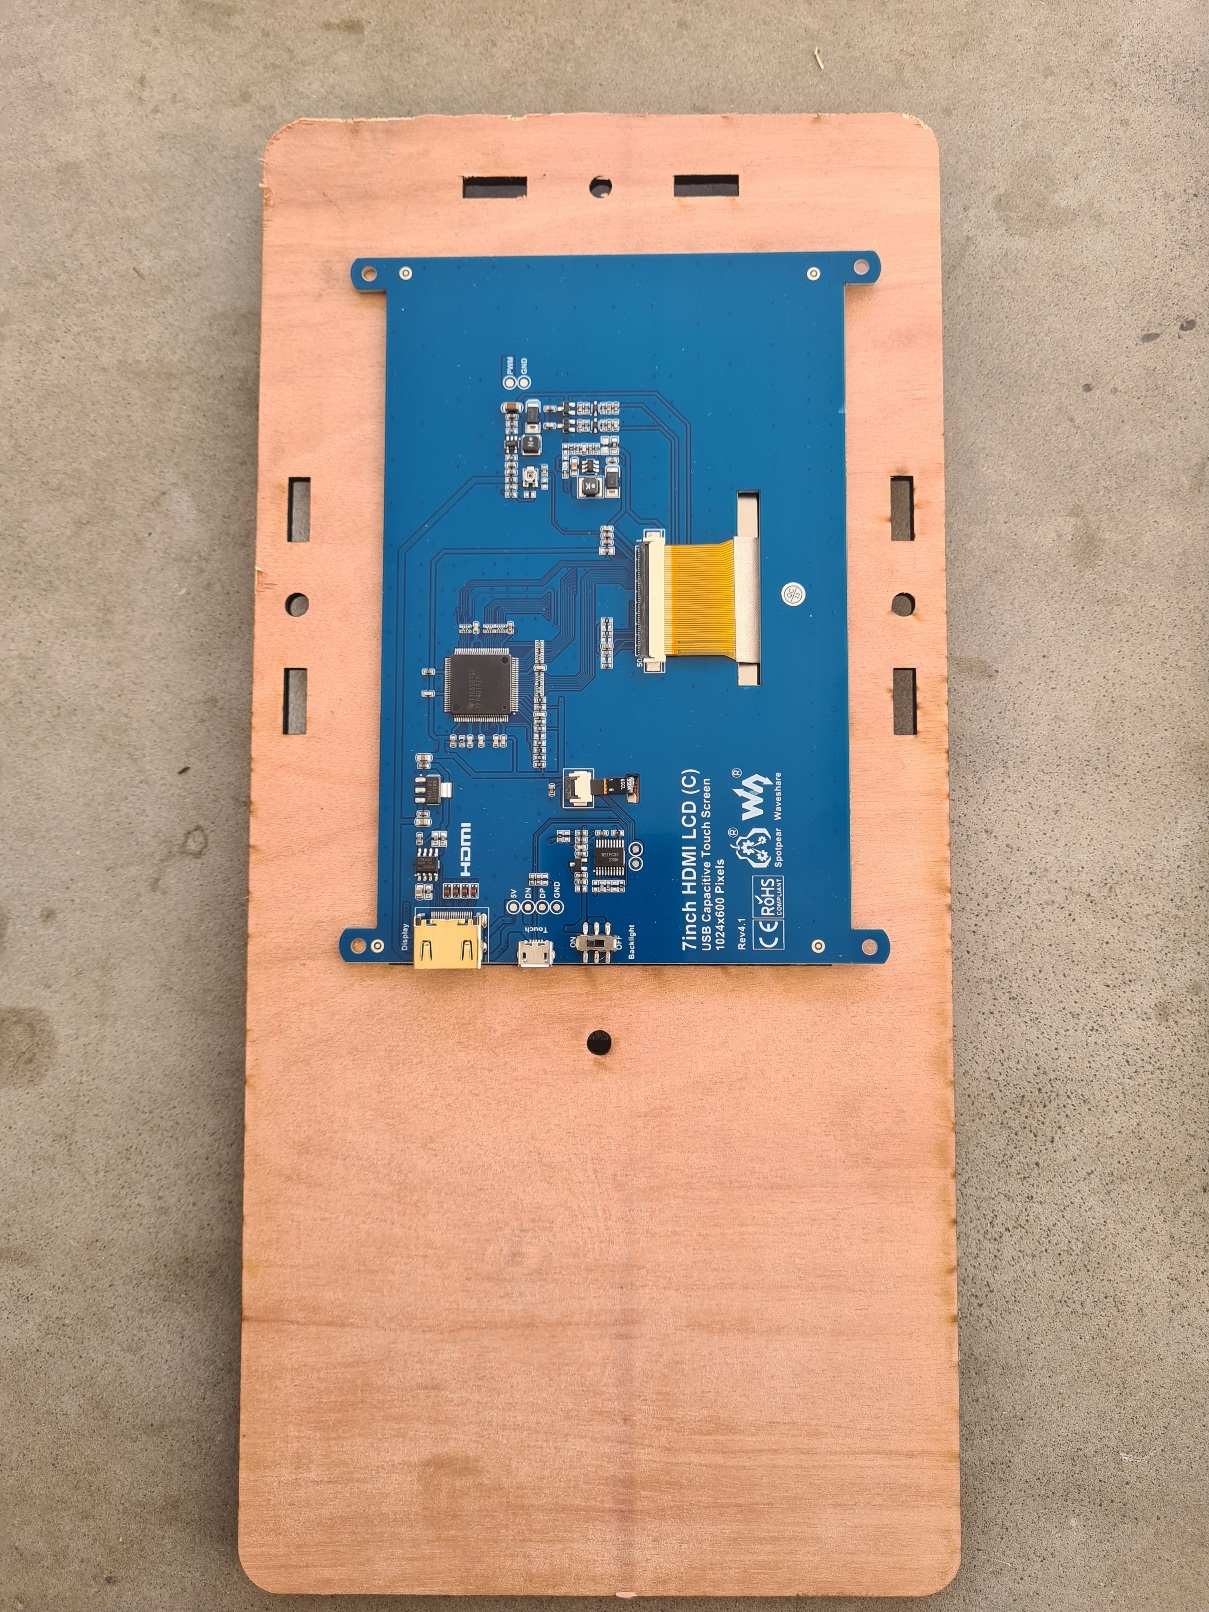
Put the screen like this :
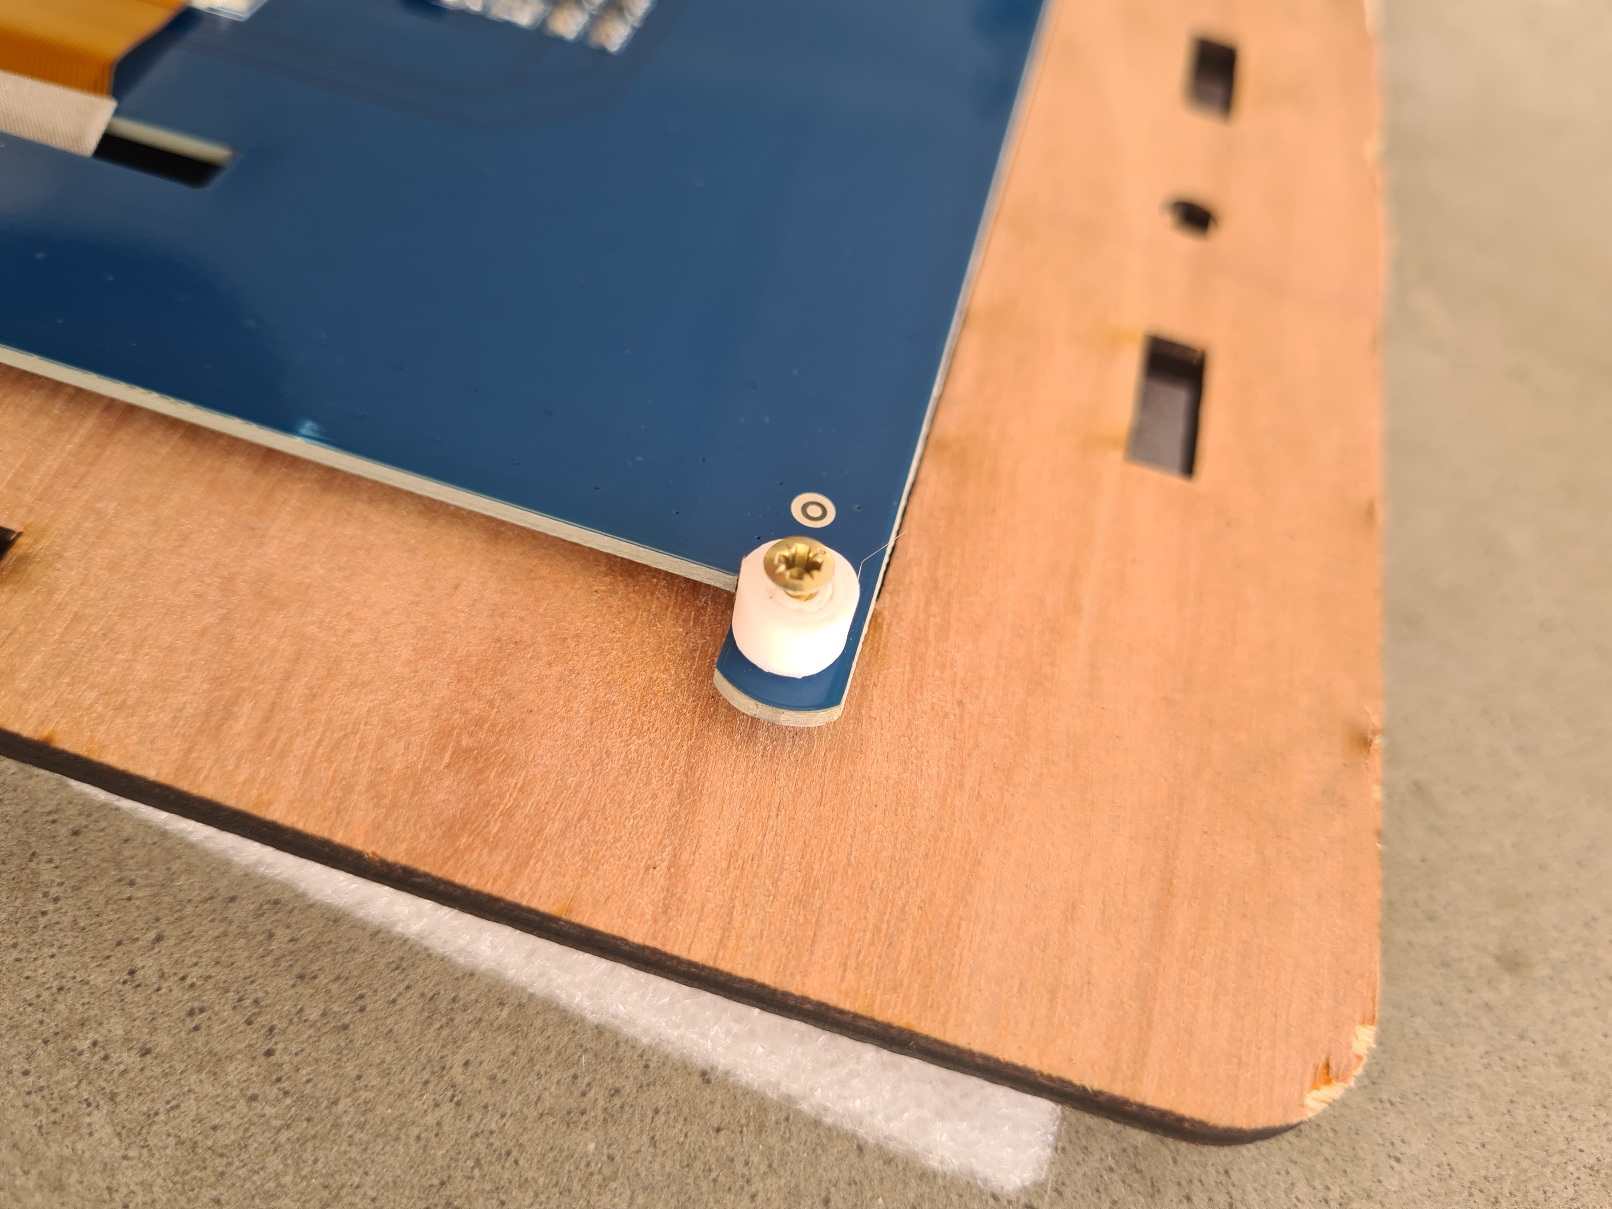
- Check the length of your screws :
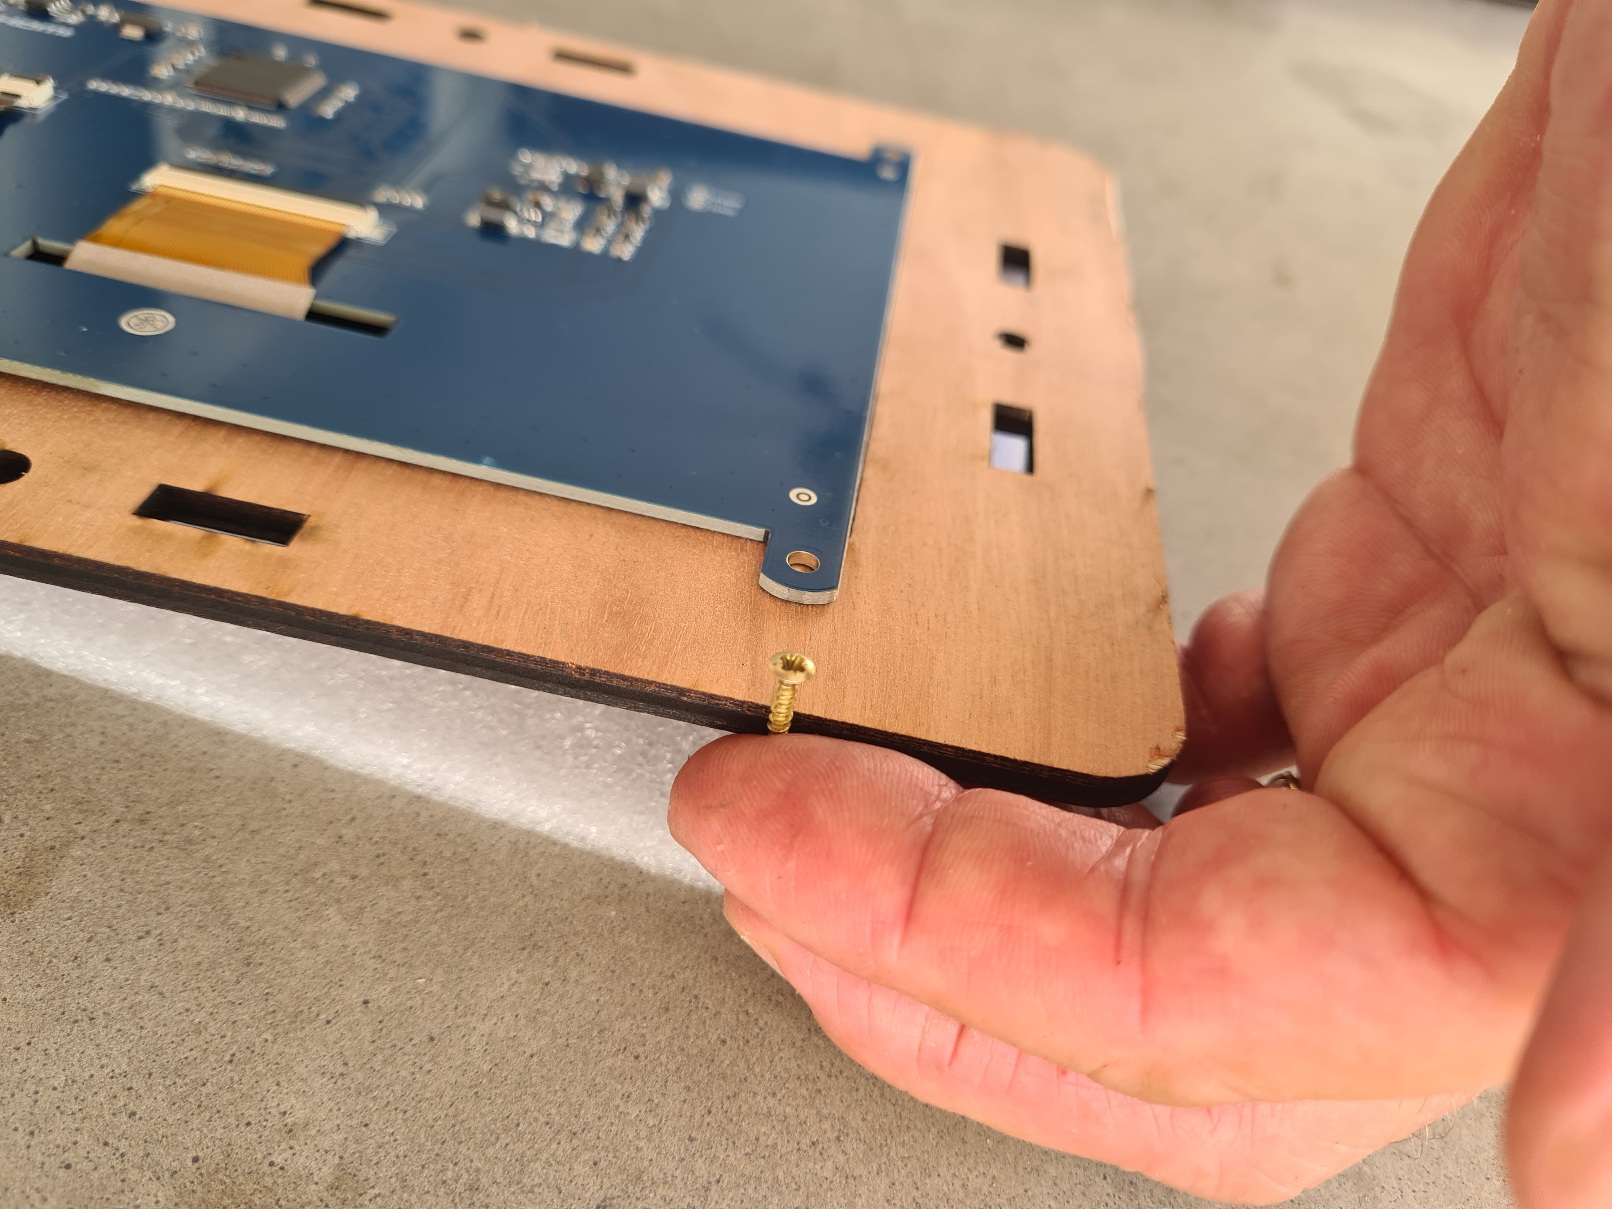
-
Choose the appropriate spacer, 3D printed beforehand, so that the screw does not protrude!
-
Screw in the 4 screws using a suitable screwdriver!

-
Place one of the 2 sides in the notches as shown below :
If you have opted for a side cable entry, choose the side that suits you best :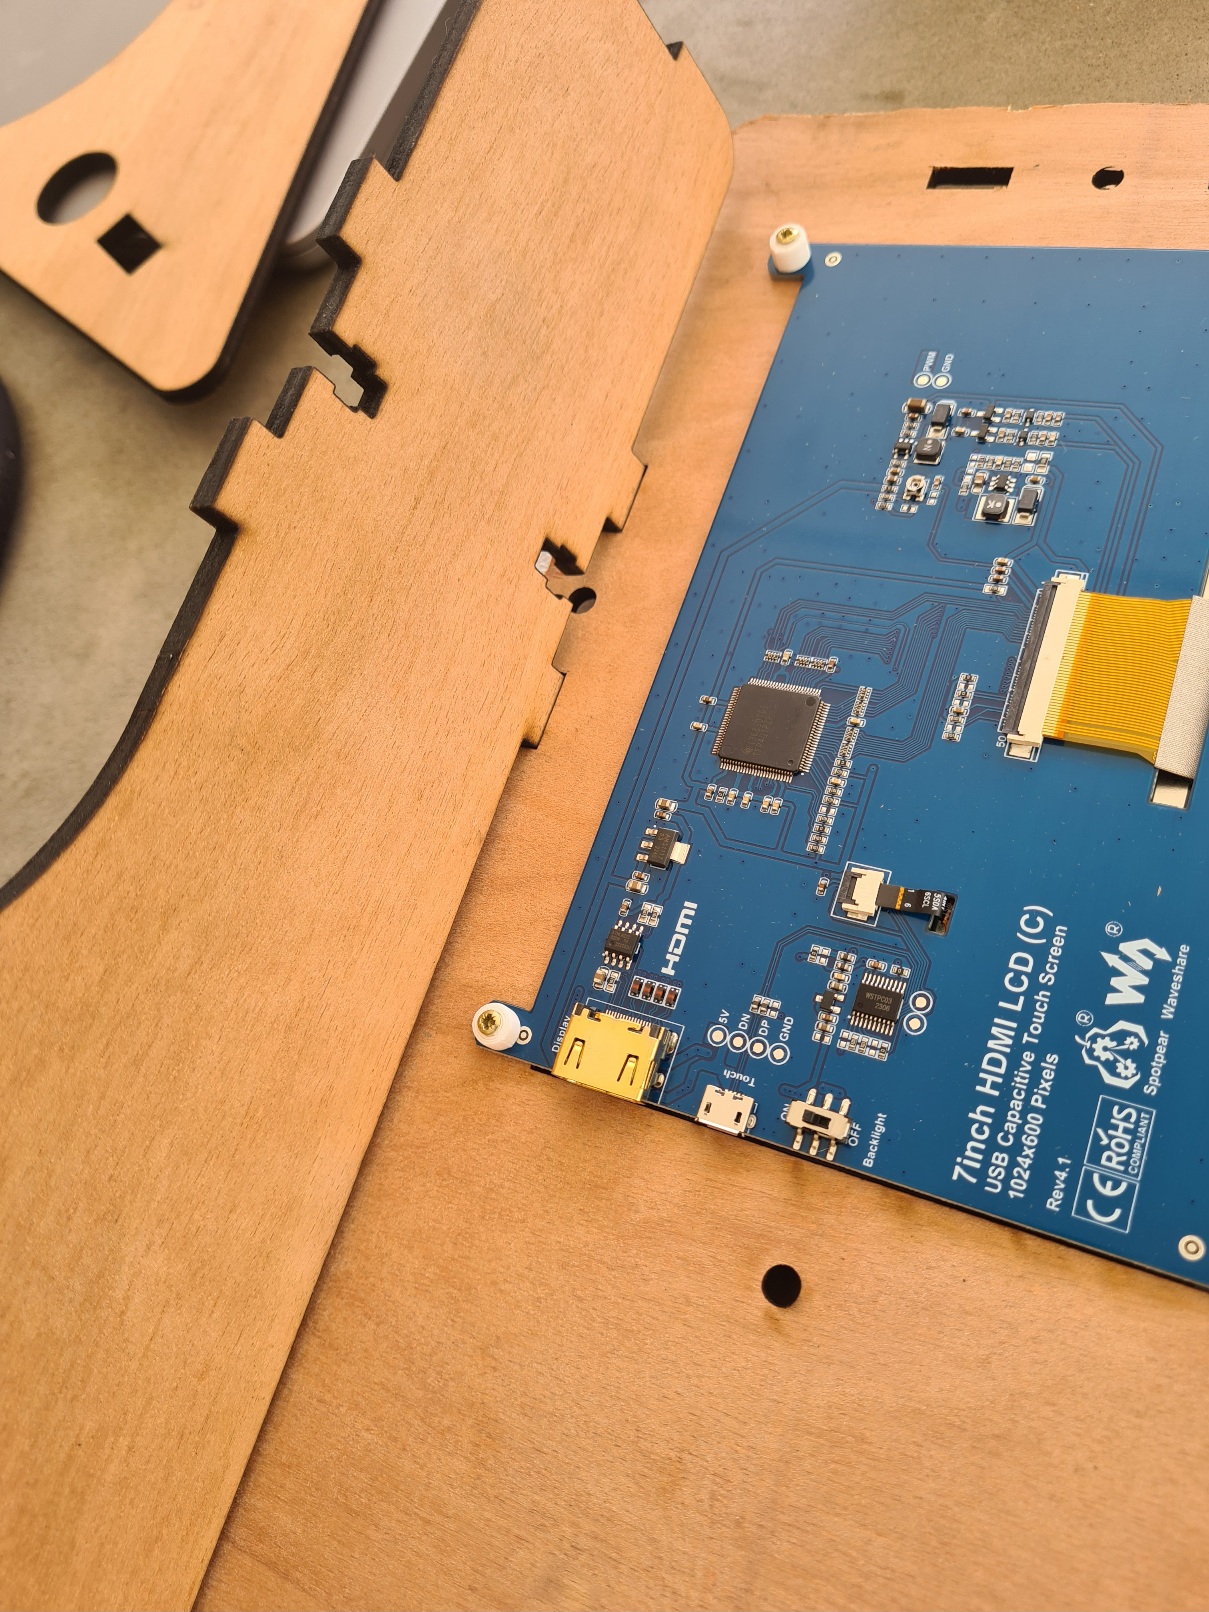
-
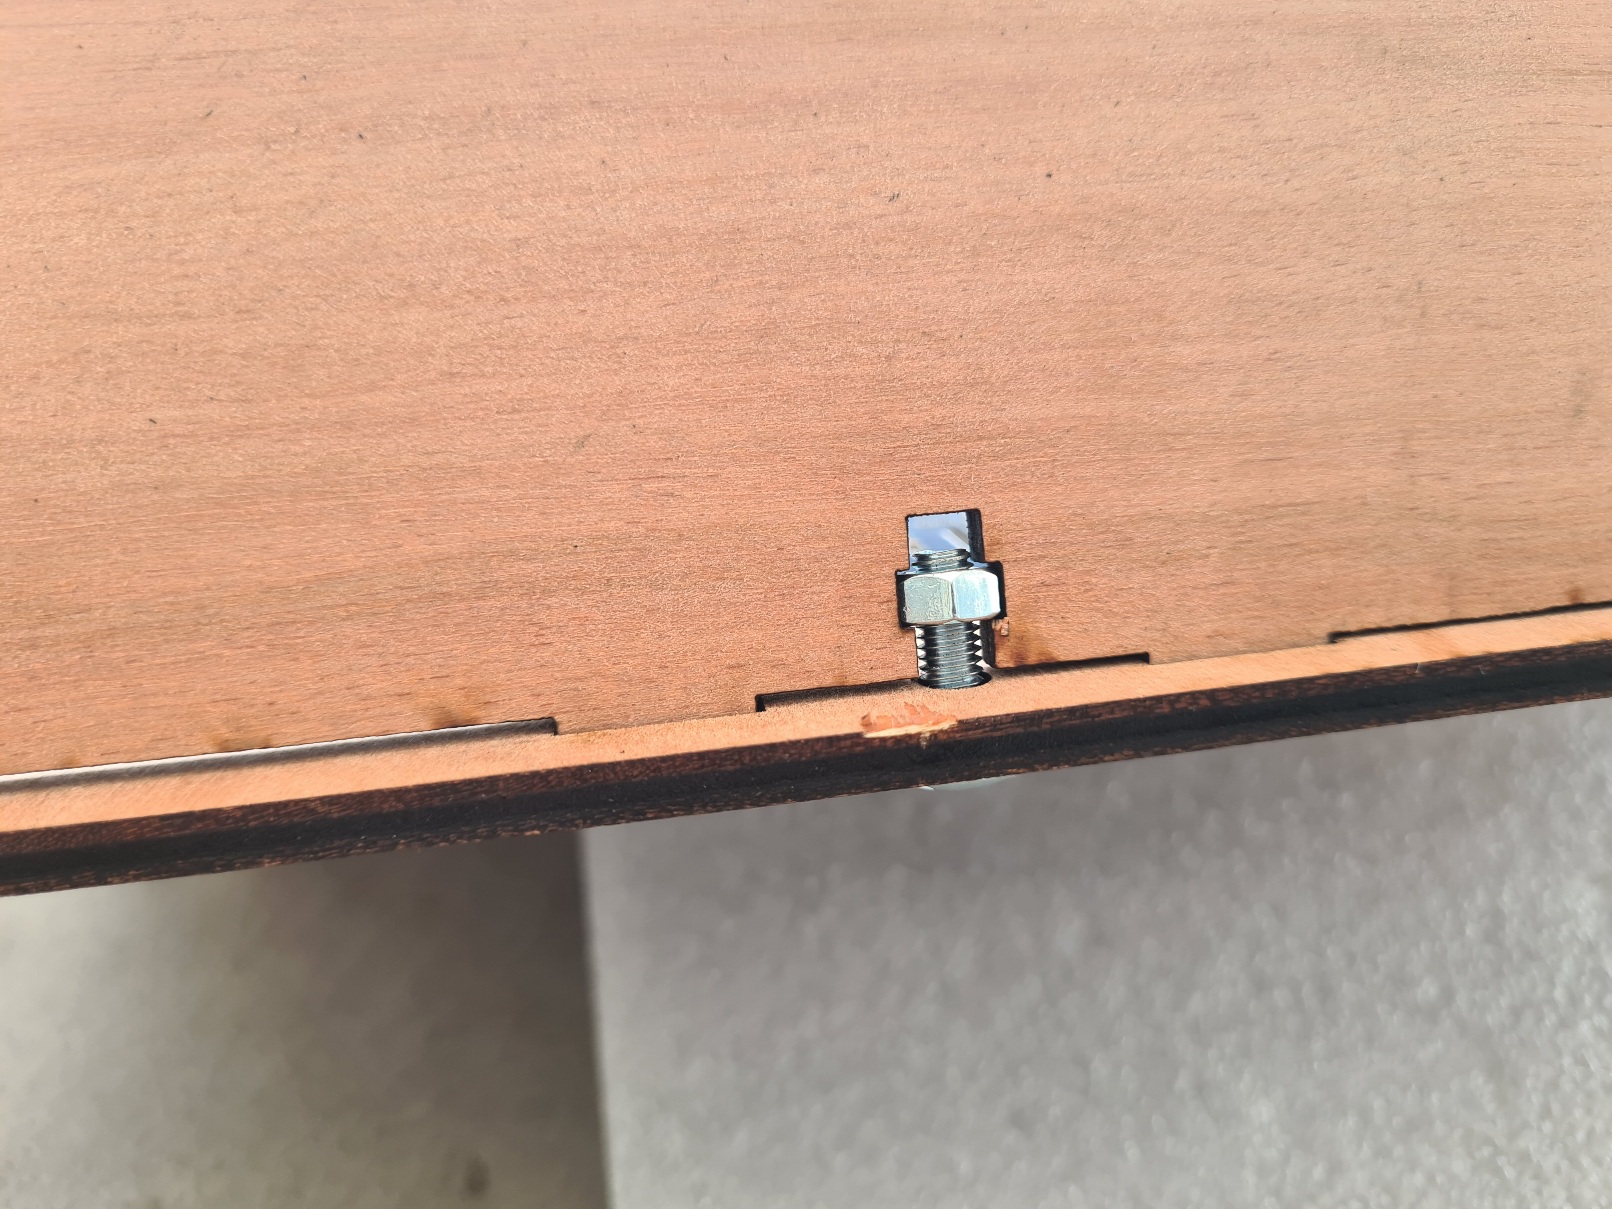
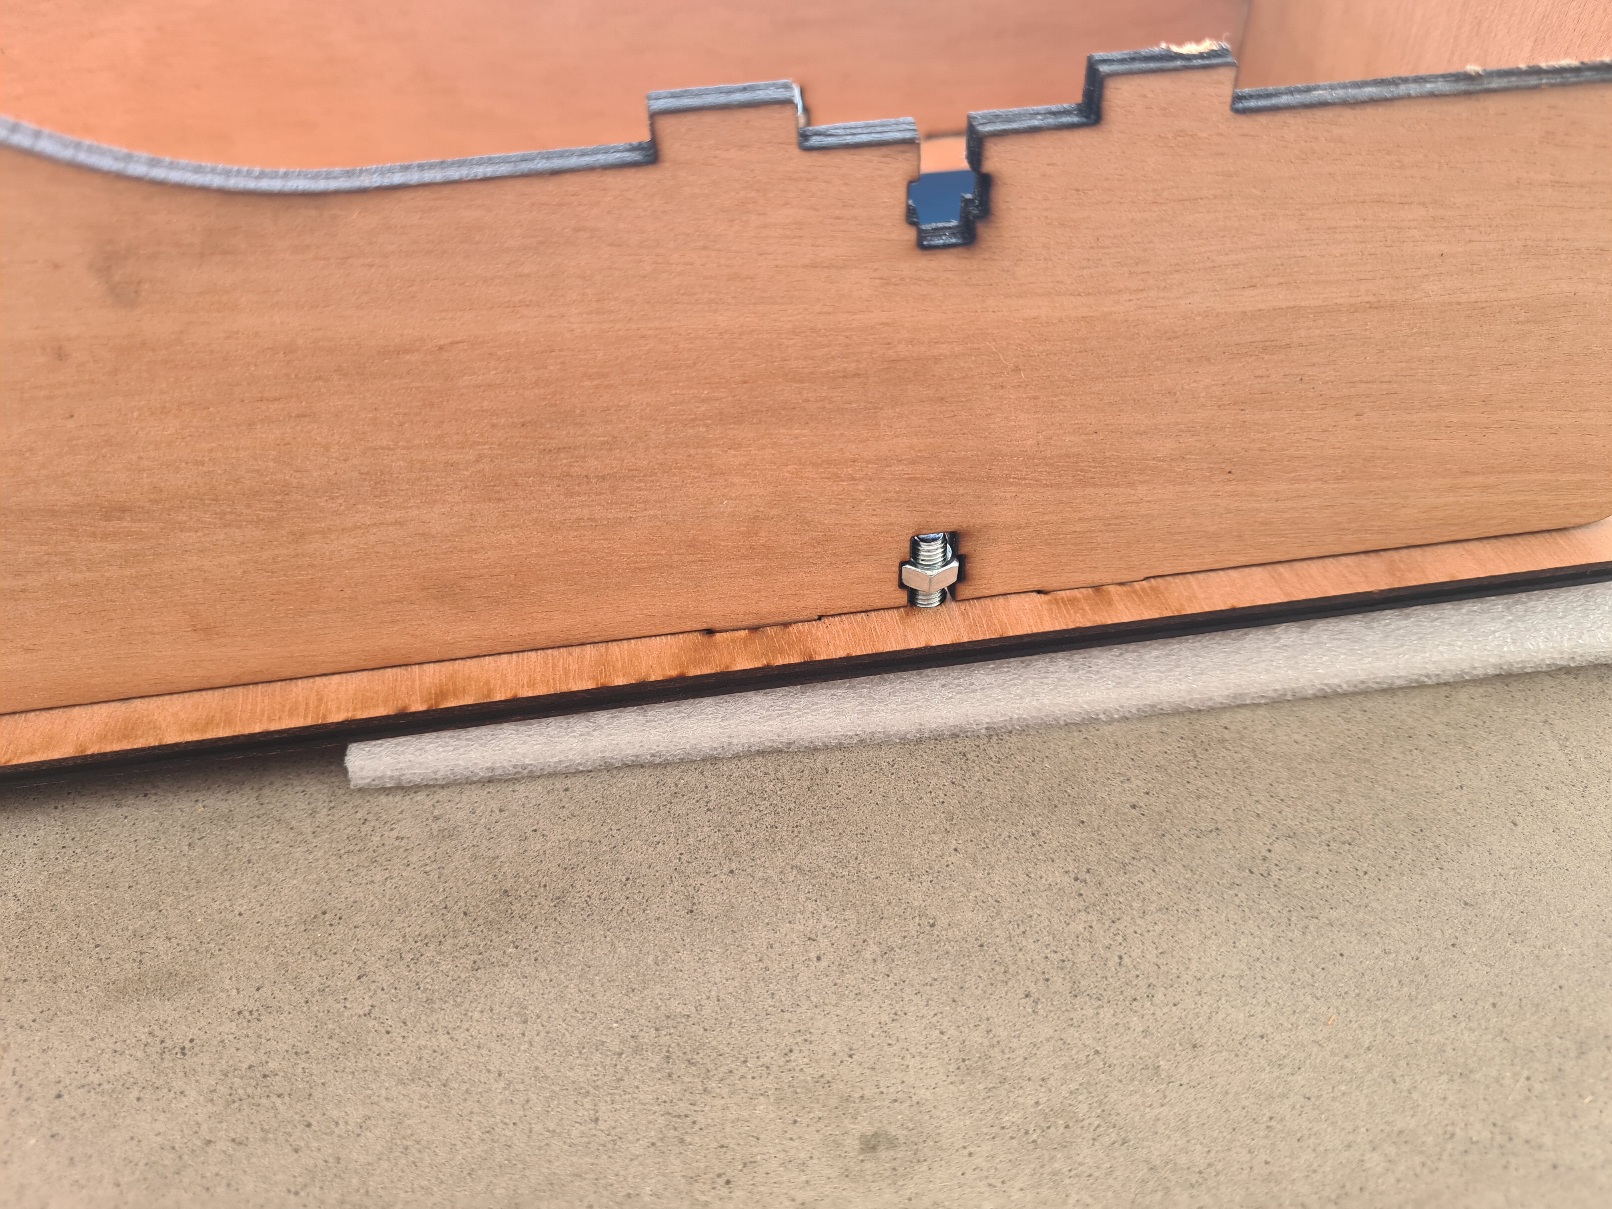
Use a Roofing bolt & nut 5X16 to secure the side to the front panel, but do not overtighten :
The side must be able to move slightly :
-
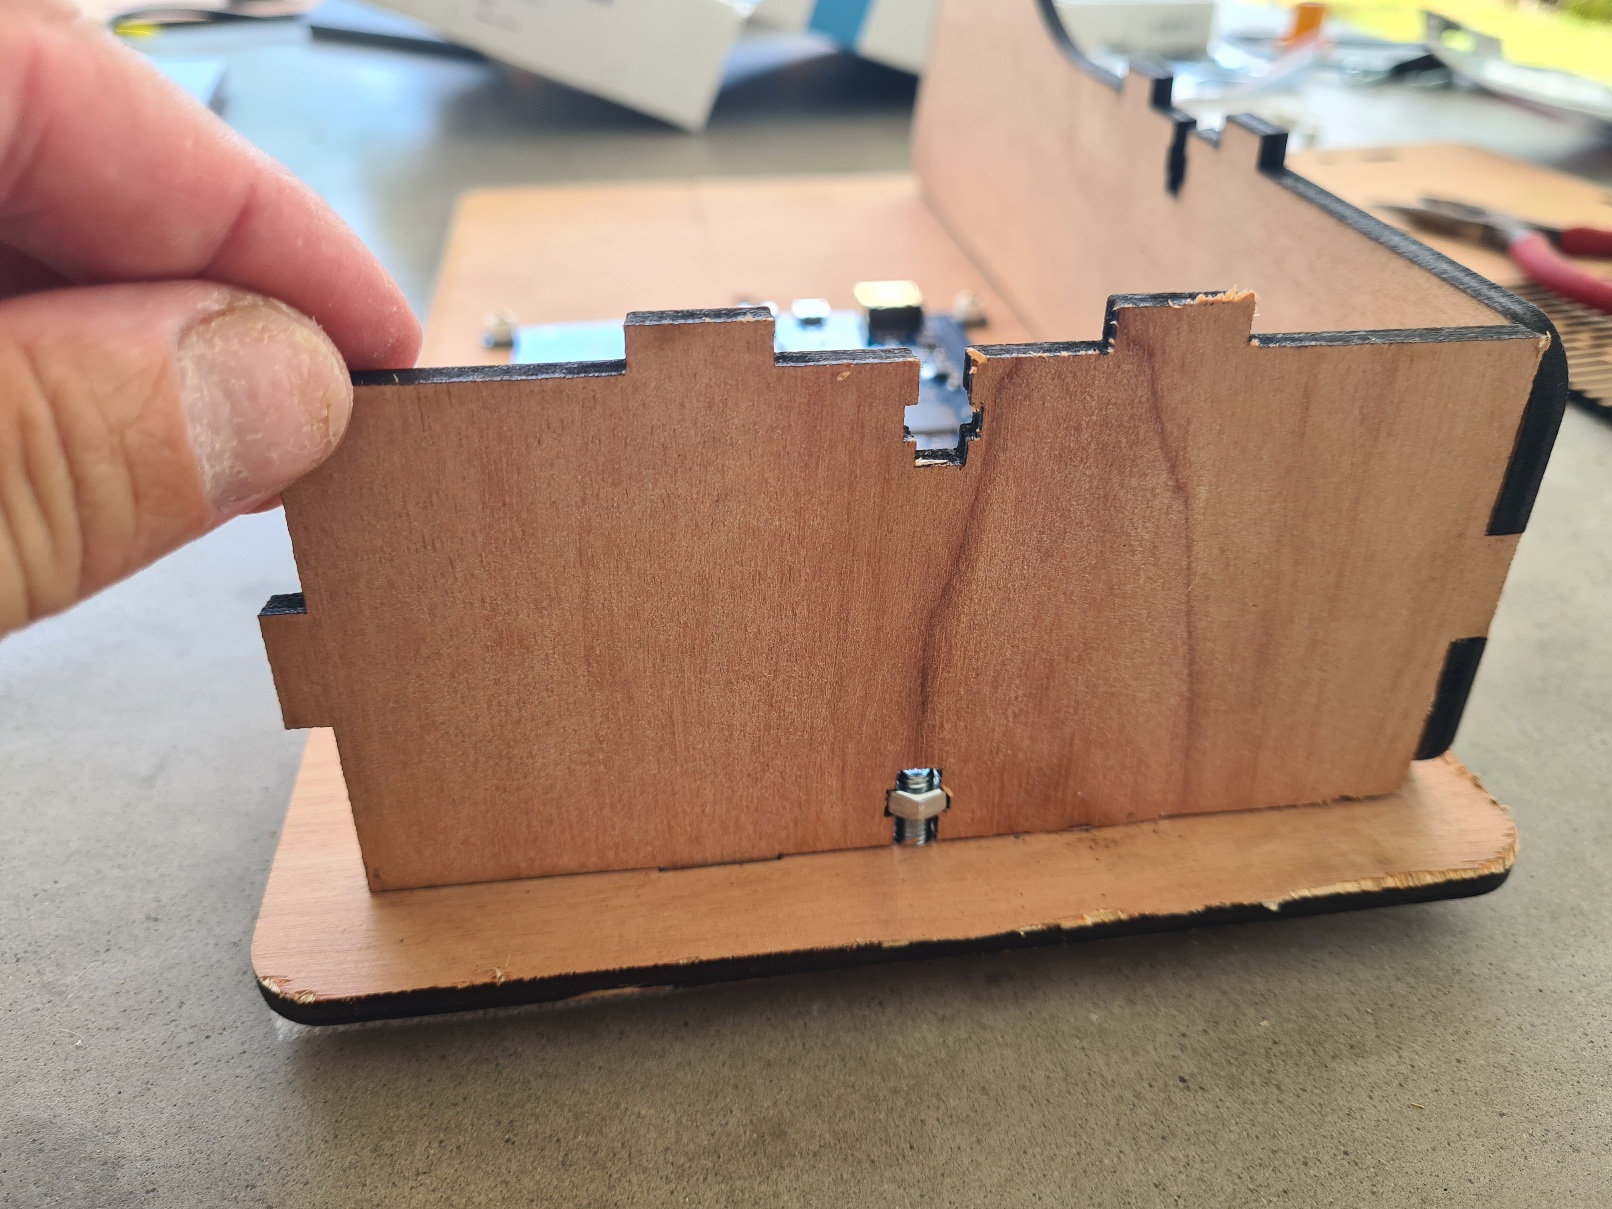
Place the top in the notches :
 -Use a Roofing bolt & nut 5X16 to secure the top to the front panel, but do not overtighten :
-
place the second side in the notches and use a Roofing bolt & nut 5X16 to secure the side to the front panel, but do not overtighten. The side must be able to move slightly :
Now the body is almost finished :

-
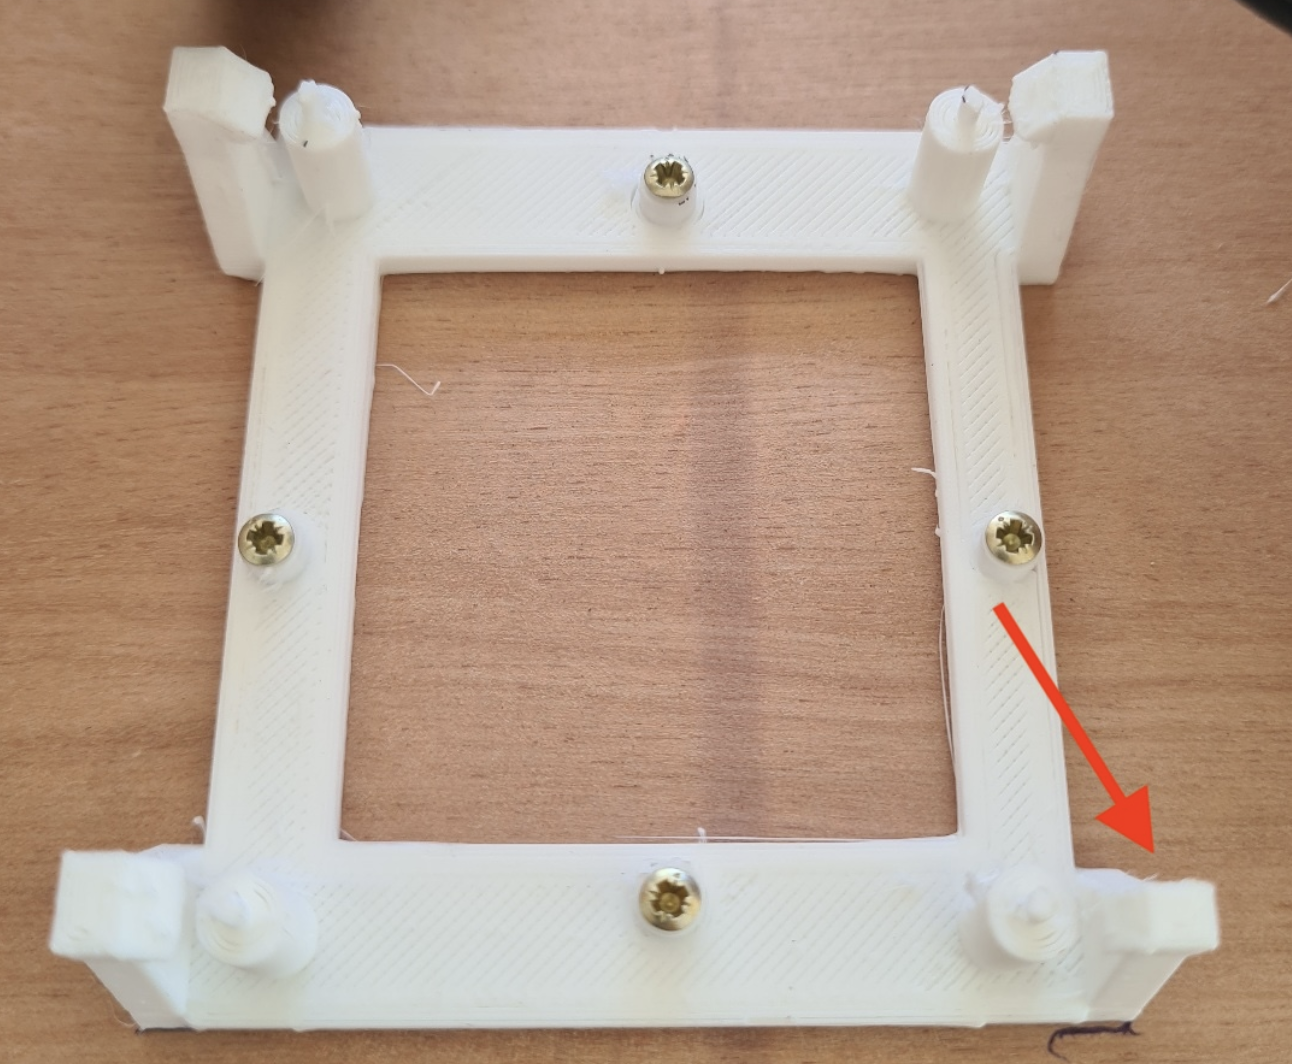
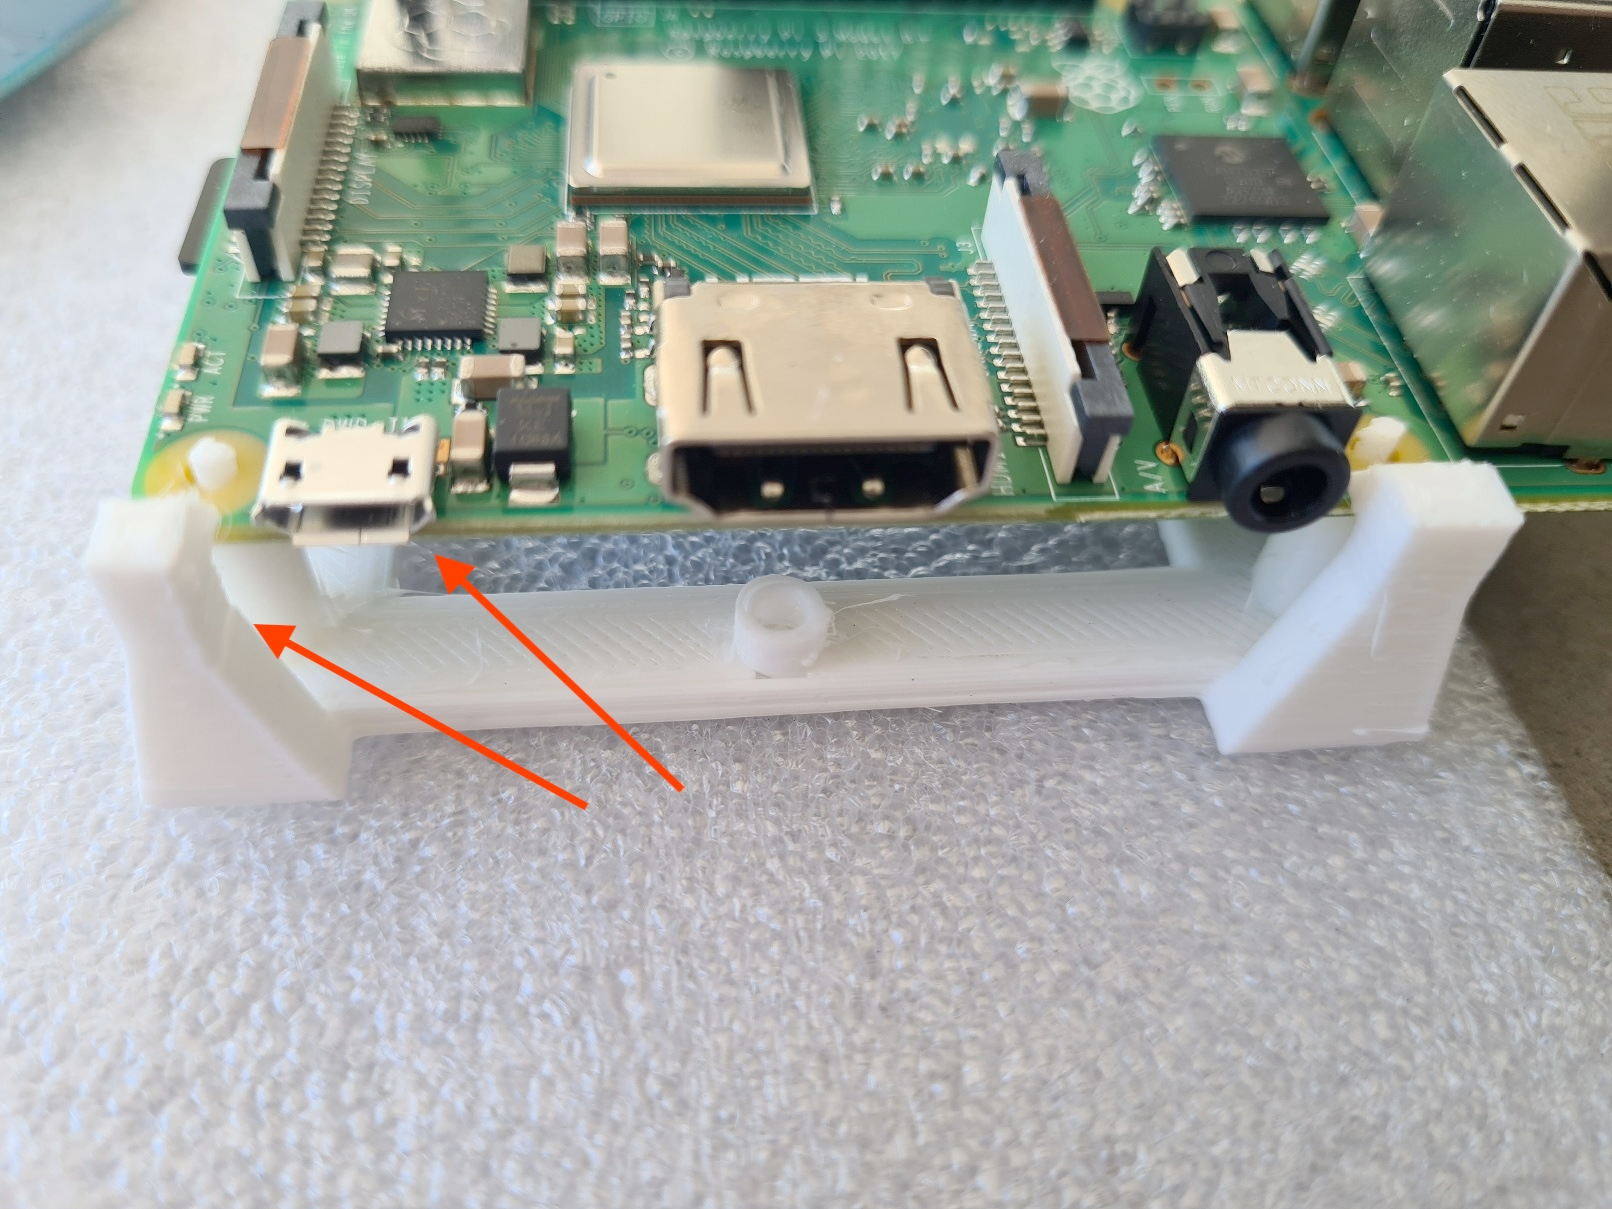
Fix the raspberry support :
-
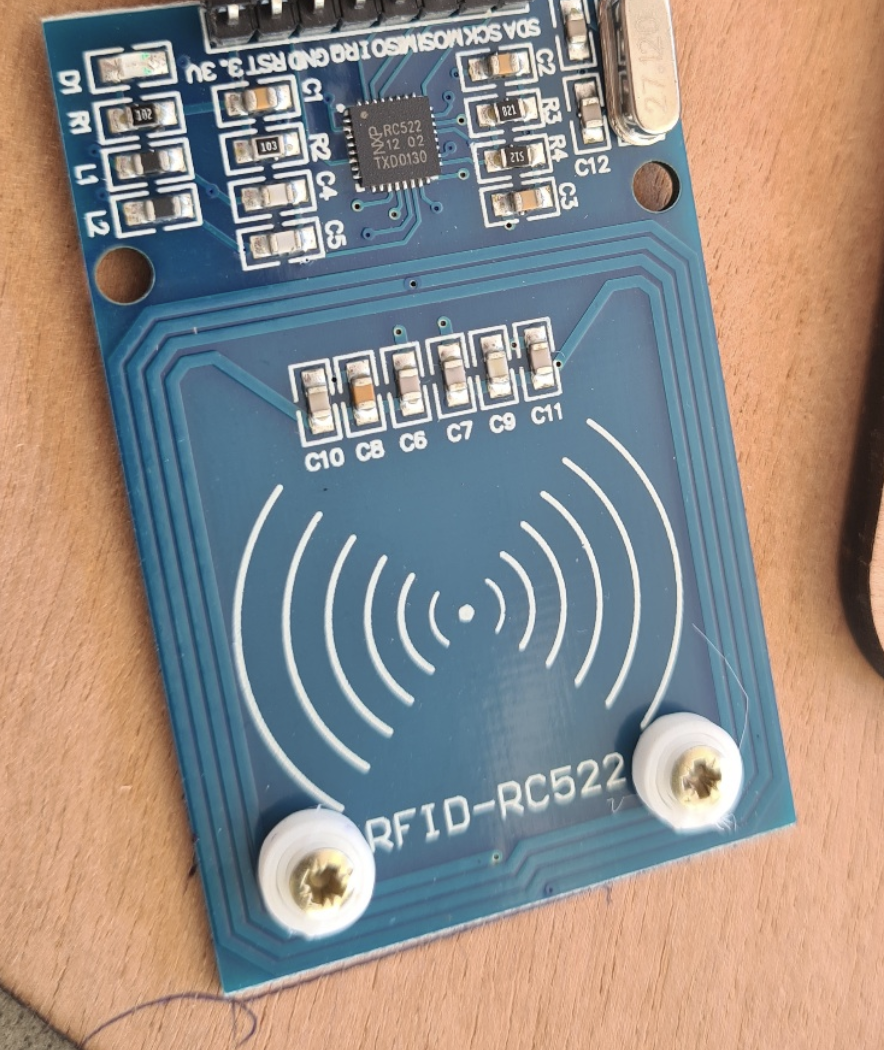
Fix the NFC card using the 2X10 screws and the spacers :
-
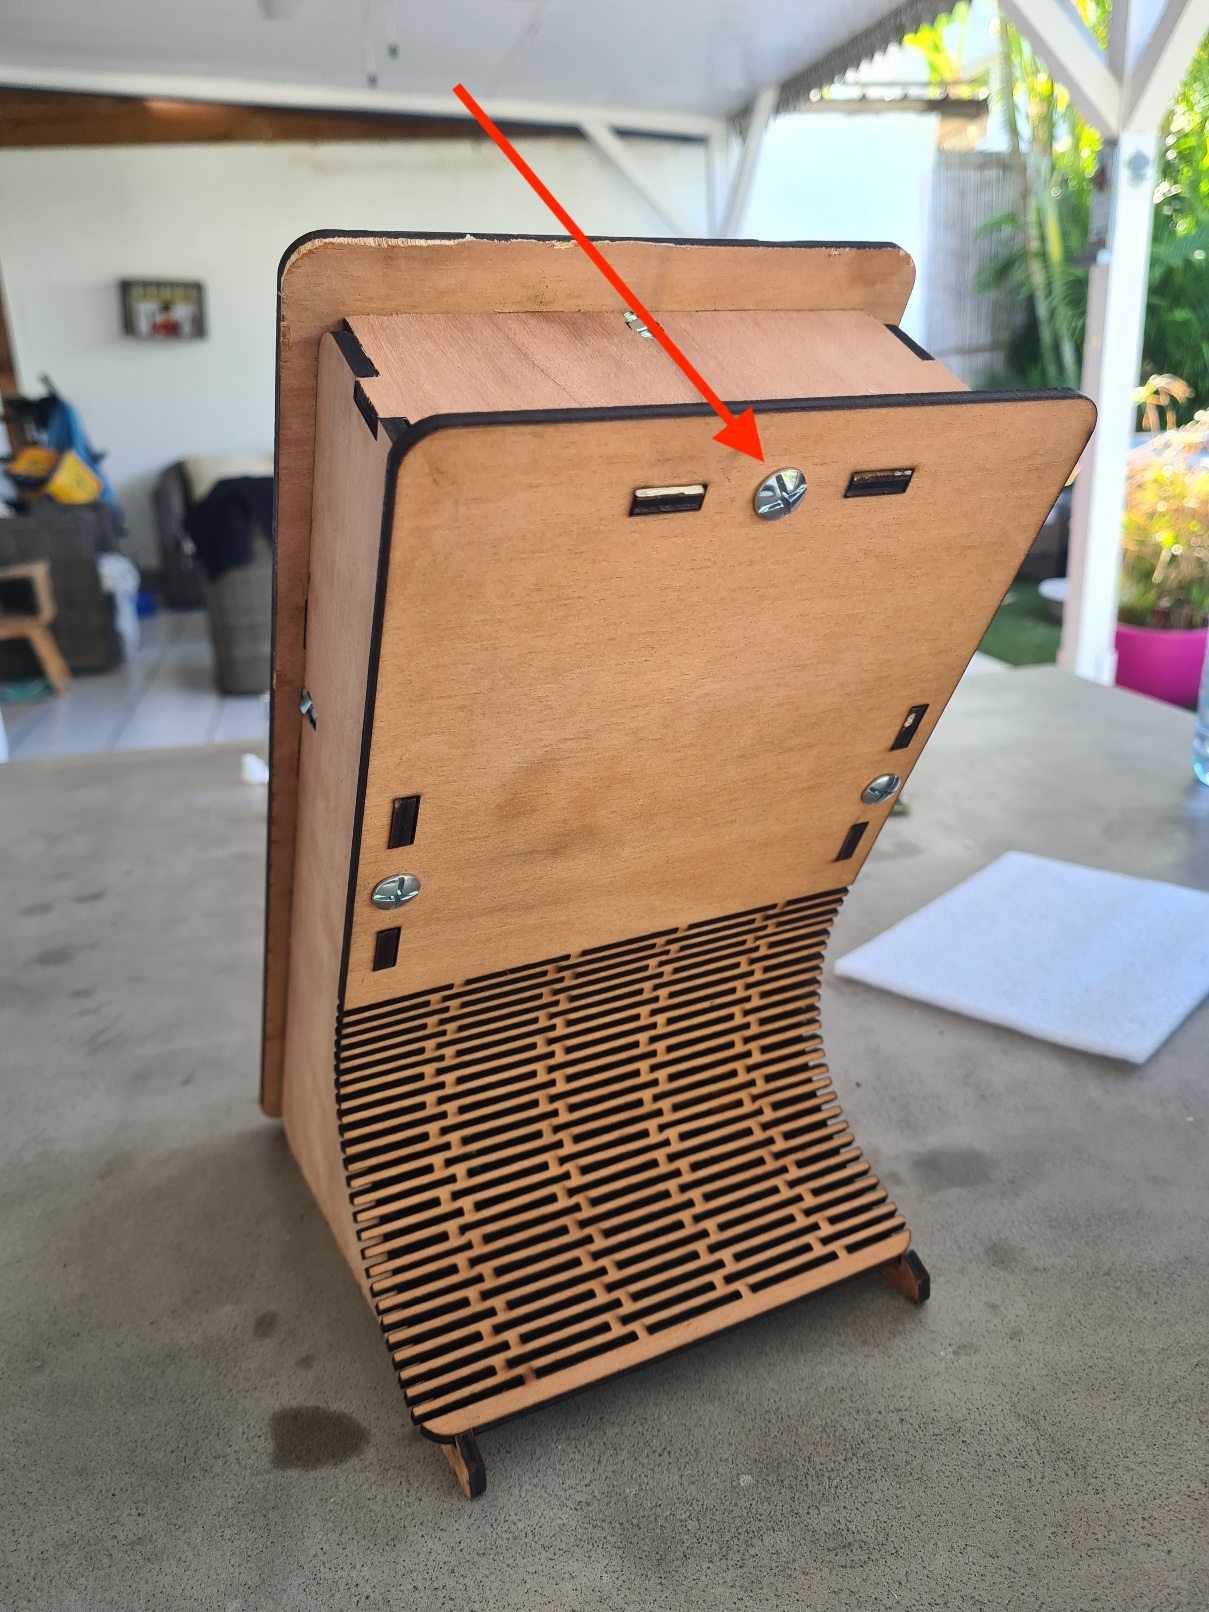
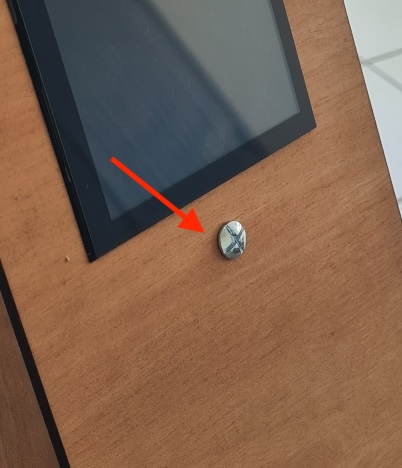
Place the last Roofing bolt & nut 5X16 on the front panel . It’s just for visual symmetry :
-
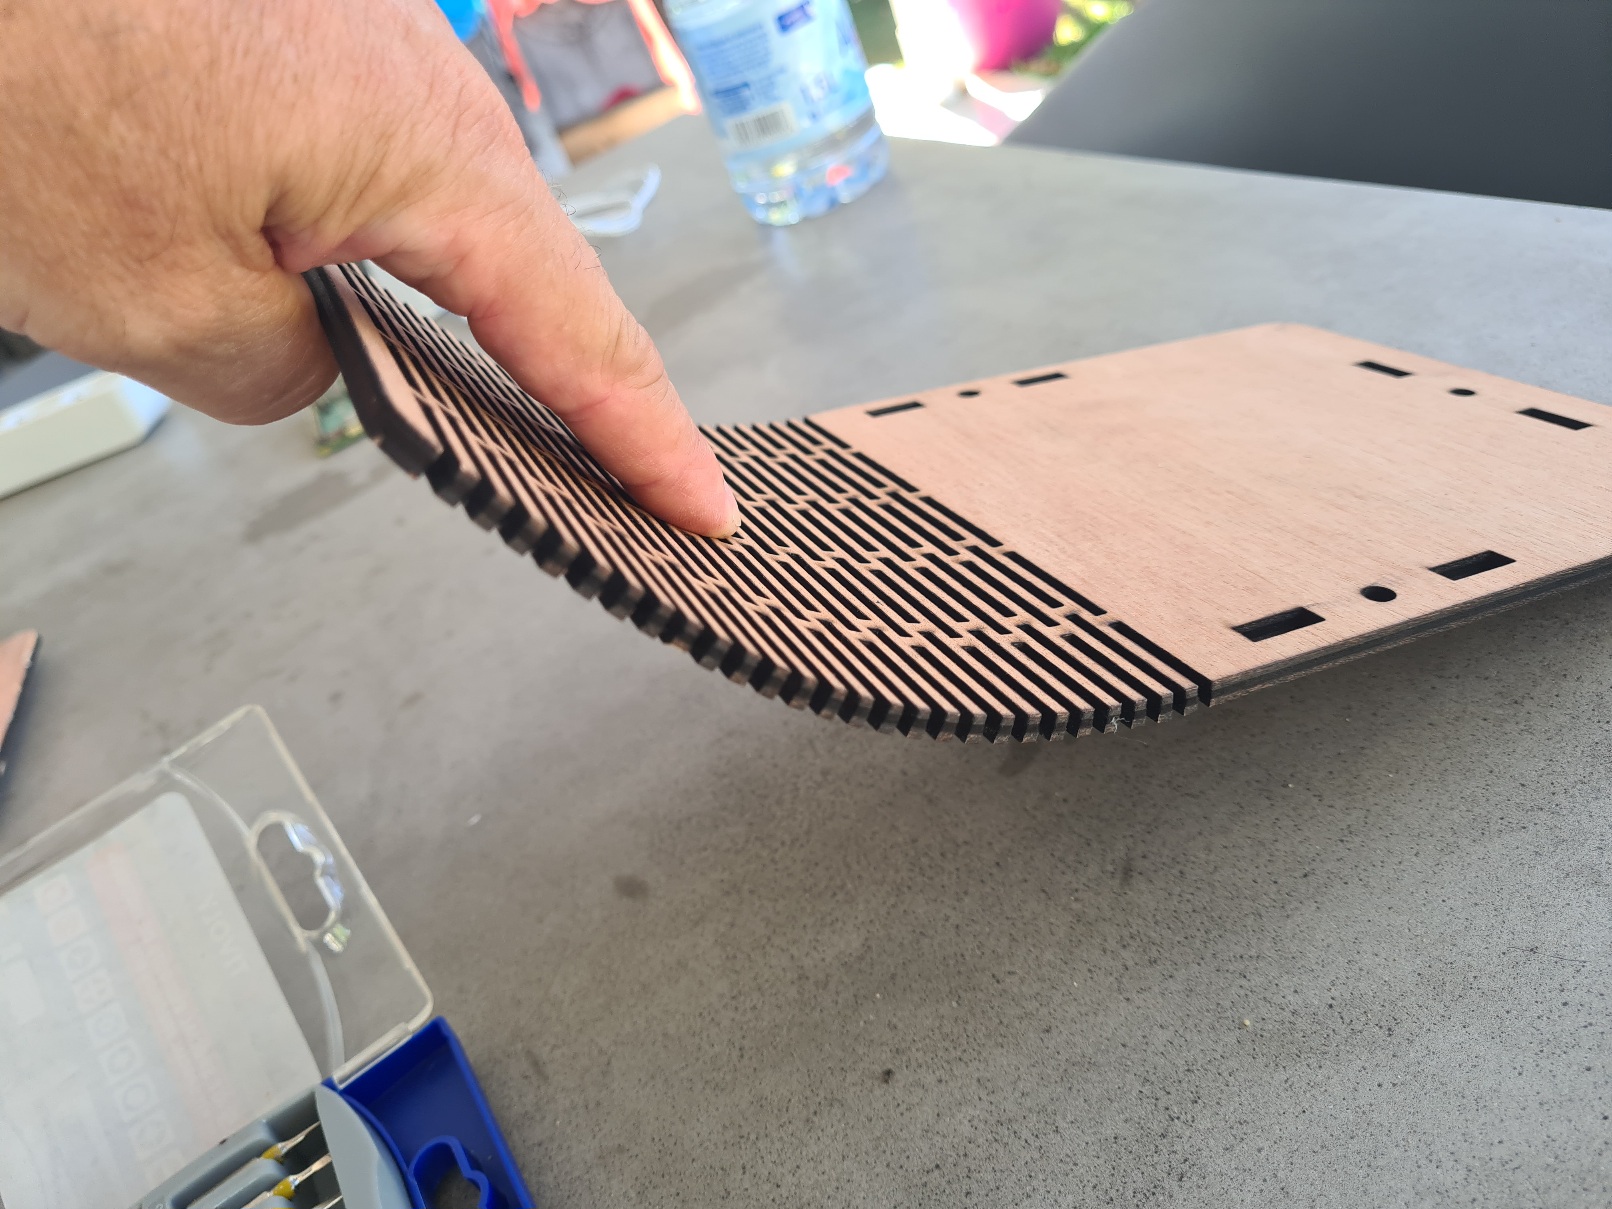
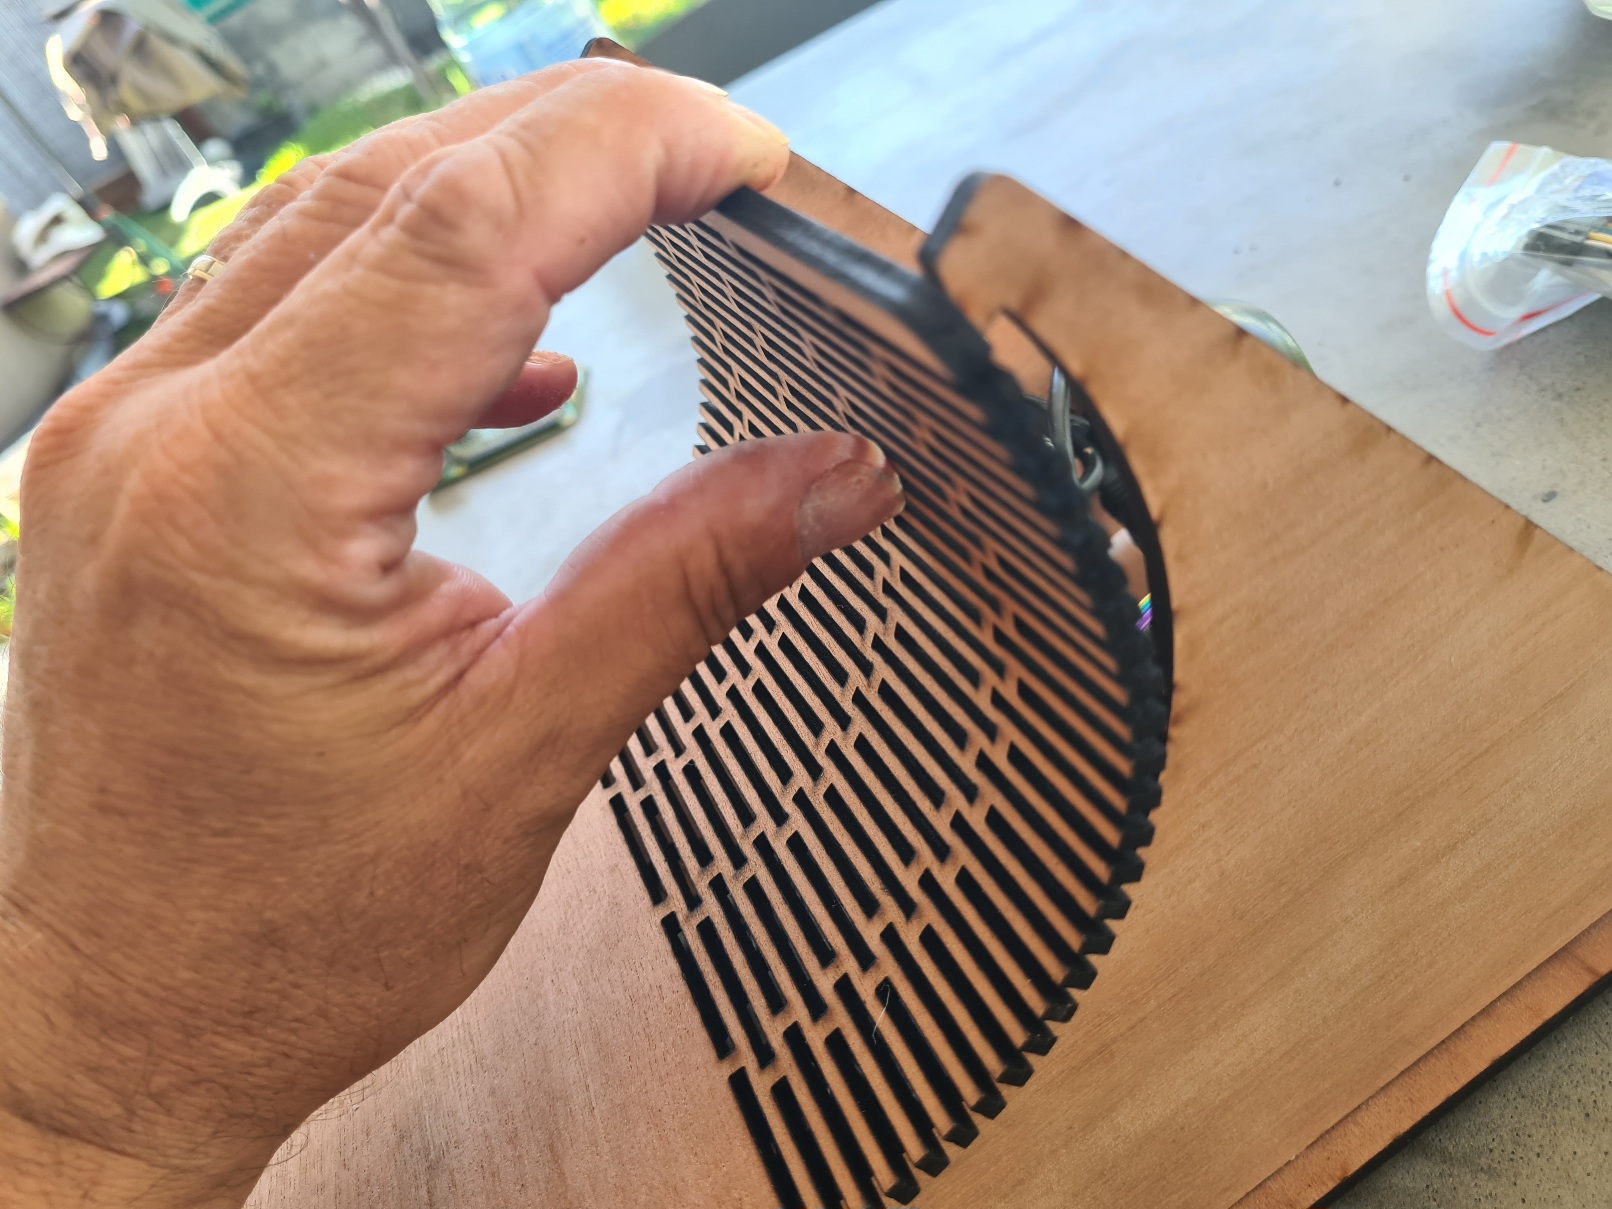
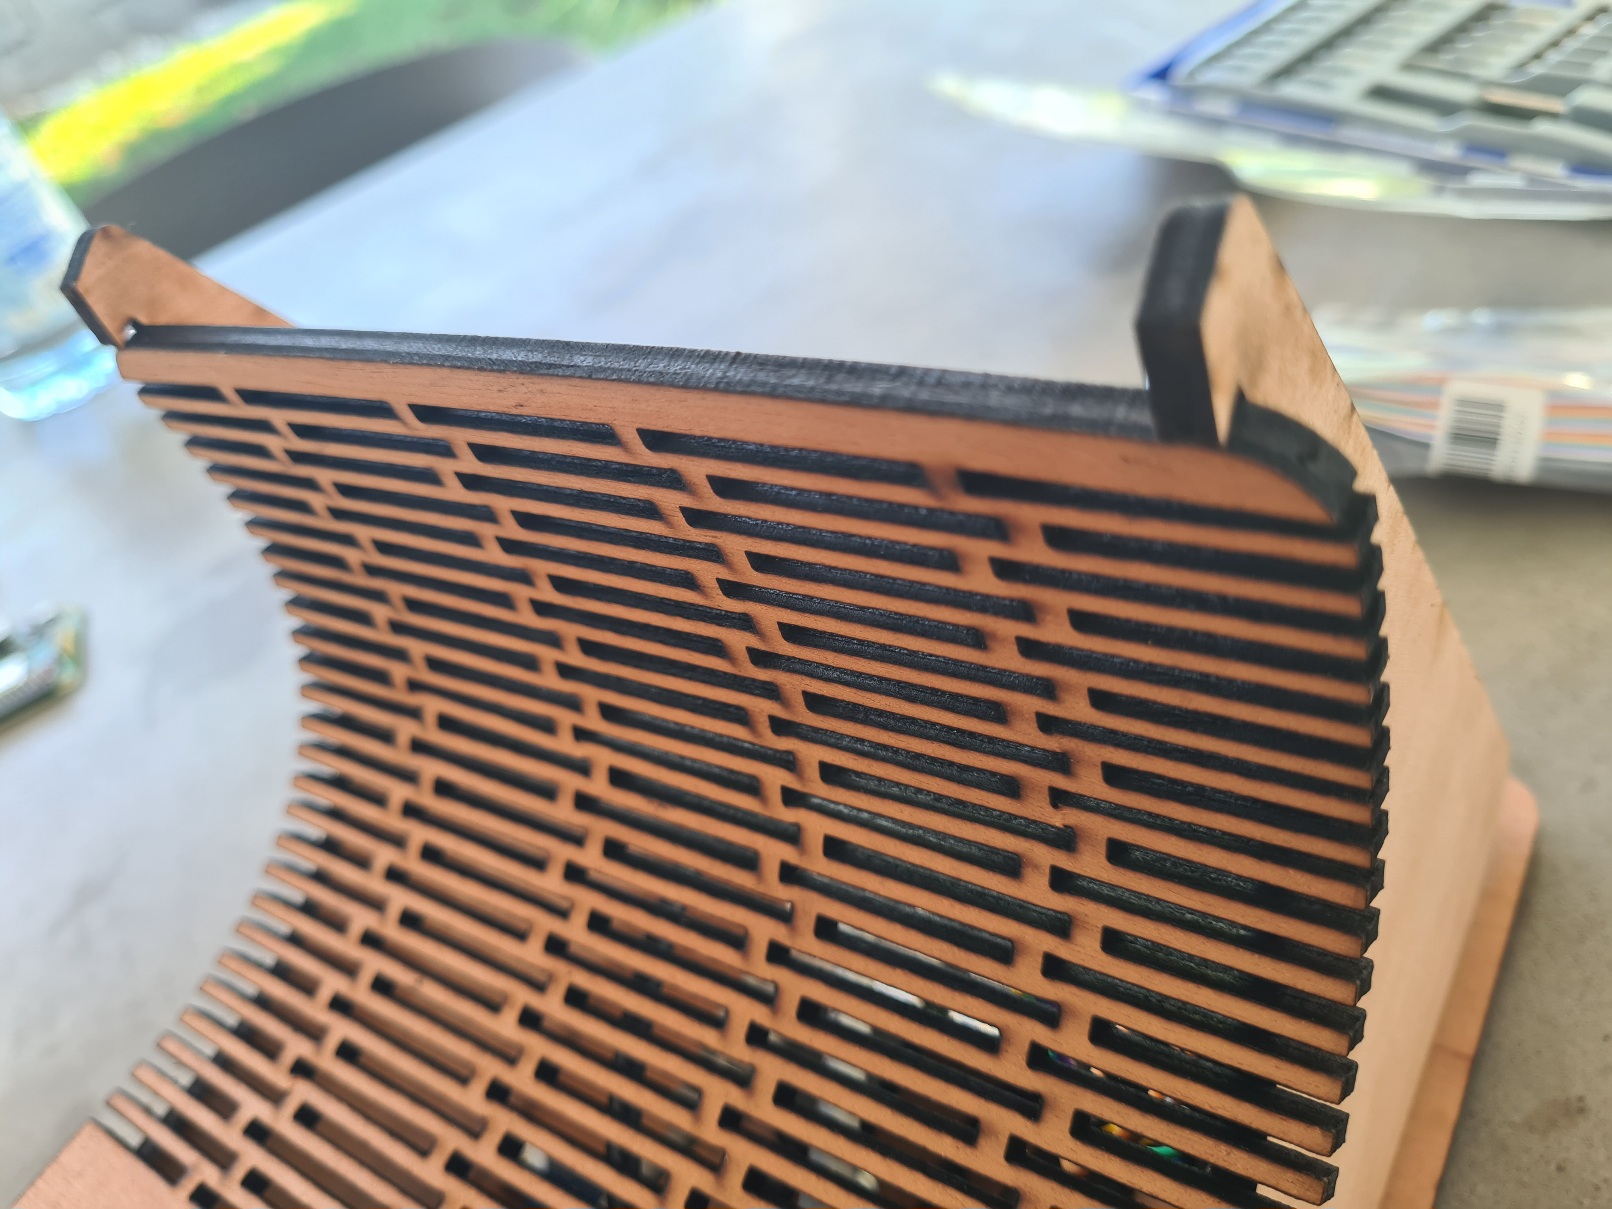
Slightly bend the part of the back face to relax the part that will be curved.
Note:
- Don't force it, it's wood, not reed. It may break.
- Wash your hands after this step (there will probably be some carbon released from the small cuts).
-
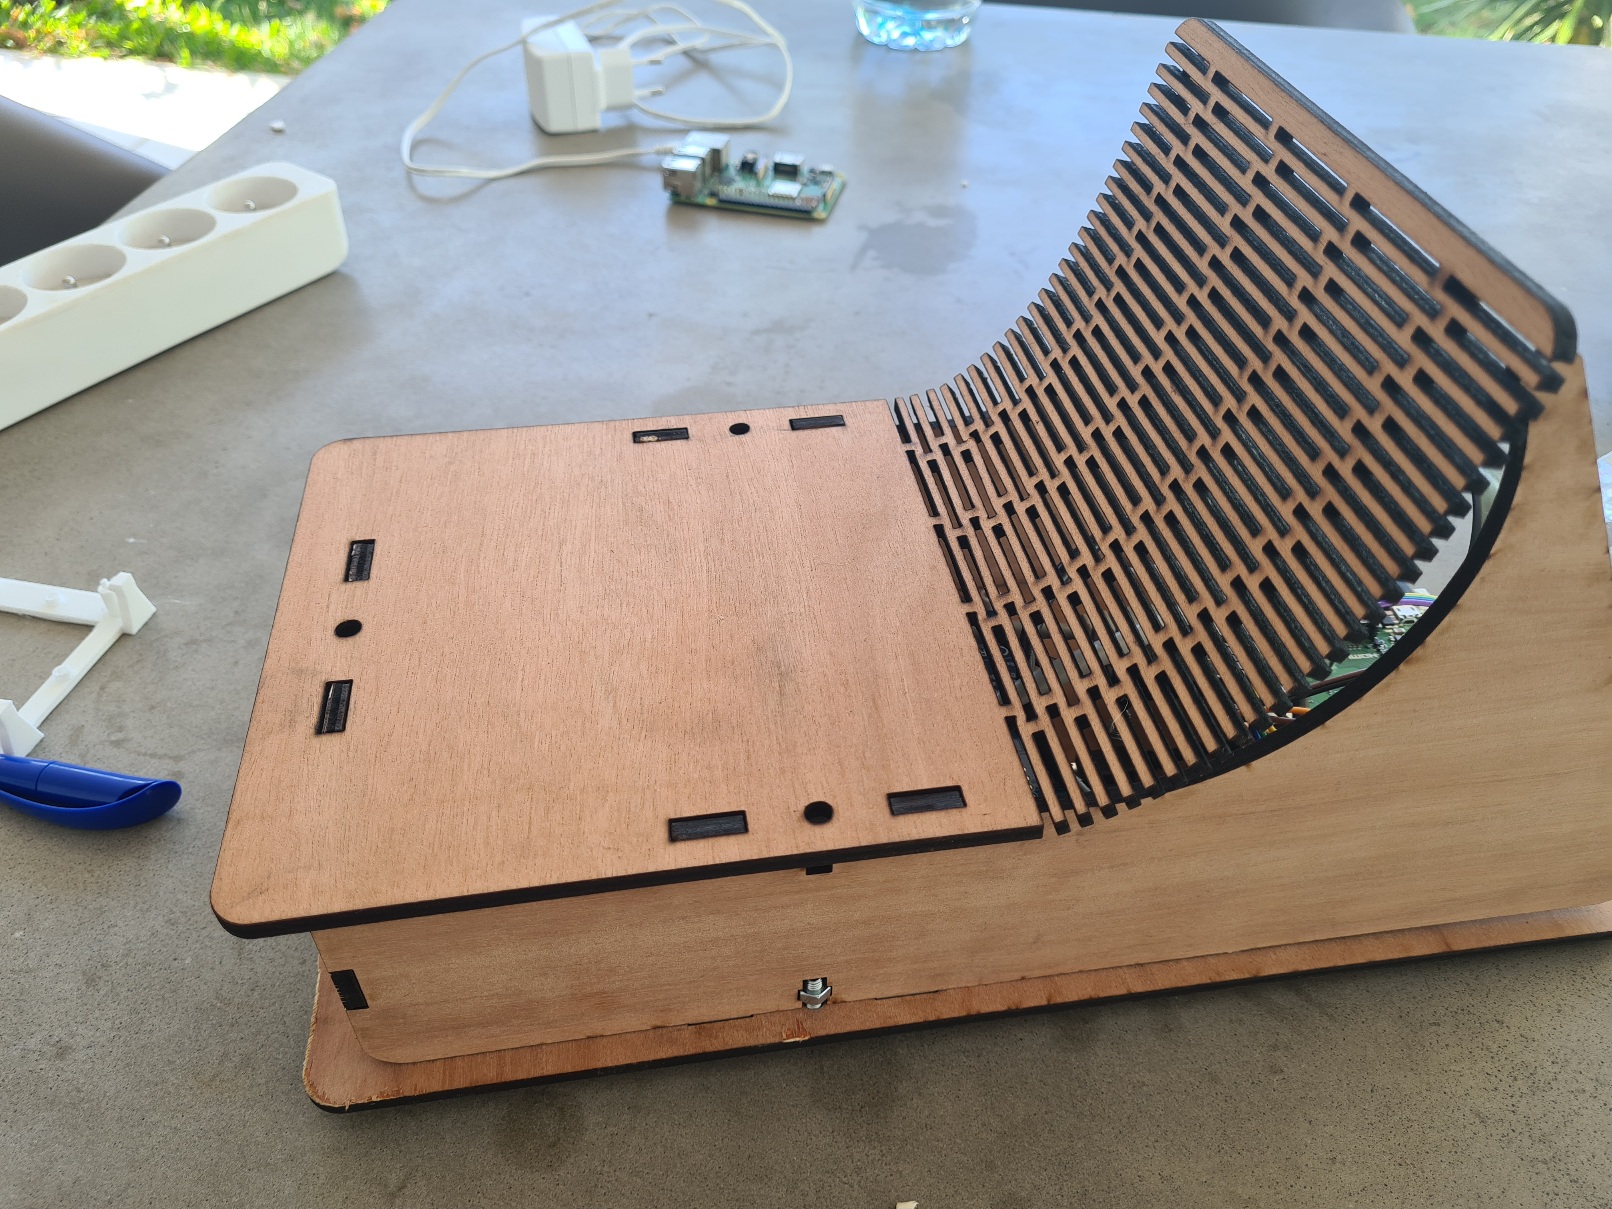
Place the rear panel in the notches (the sides must be able to move slightly, if you have tightened the Roofing bolt & nut 5X16 too much, loosen them slightly).
-
Position the curved part of the rear face, you will have to force a little, but be careful not like a barbarian :)
-
Place the last screw on the rear panel.
You can now tighten all the screws :